Posted on Leave a comment

Newborn Diaper Cover Crochet Pattern | Beginner Friendly

Hey, fancy folks!

We made it to the weekend! Everyone give yourself a pat on the back. What better way to kick off a weekend than a good crochet project?

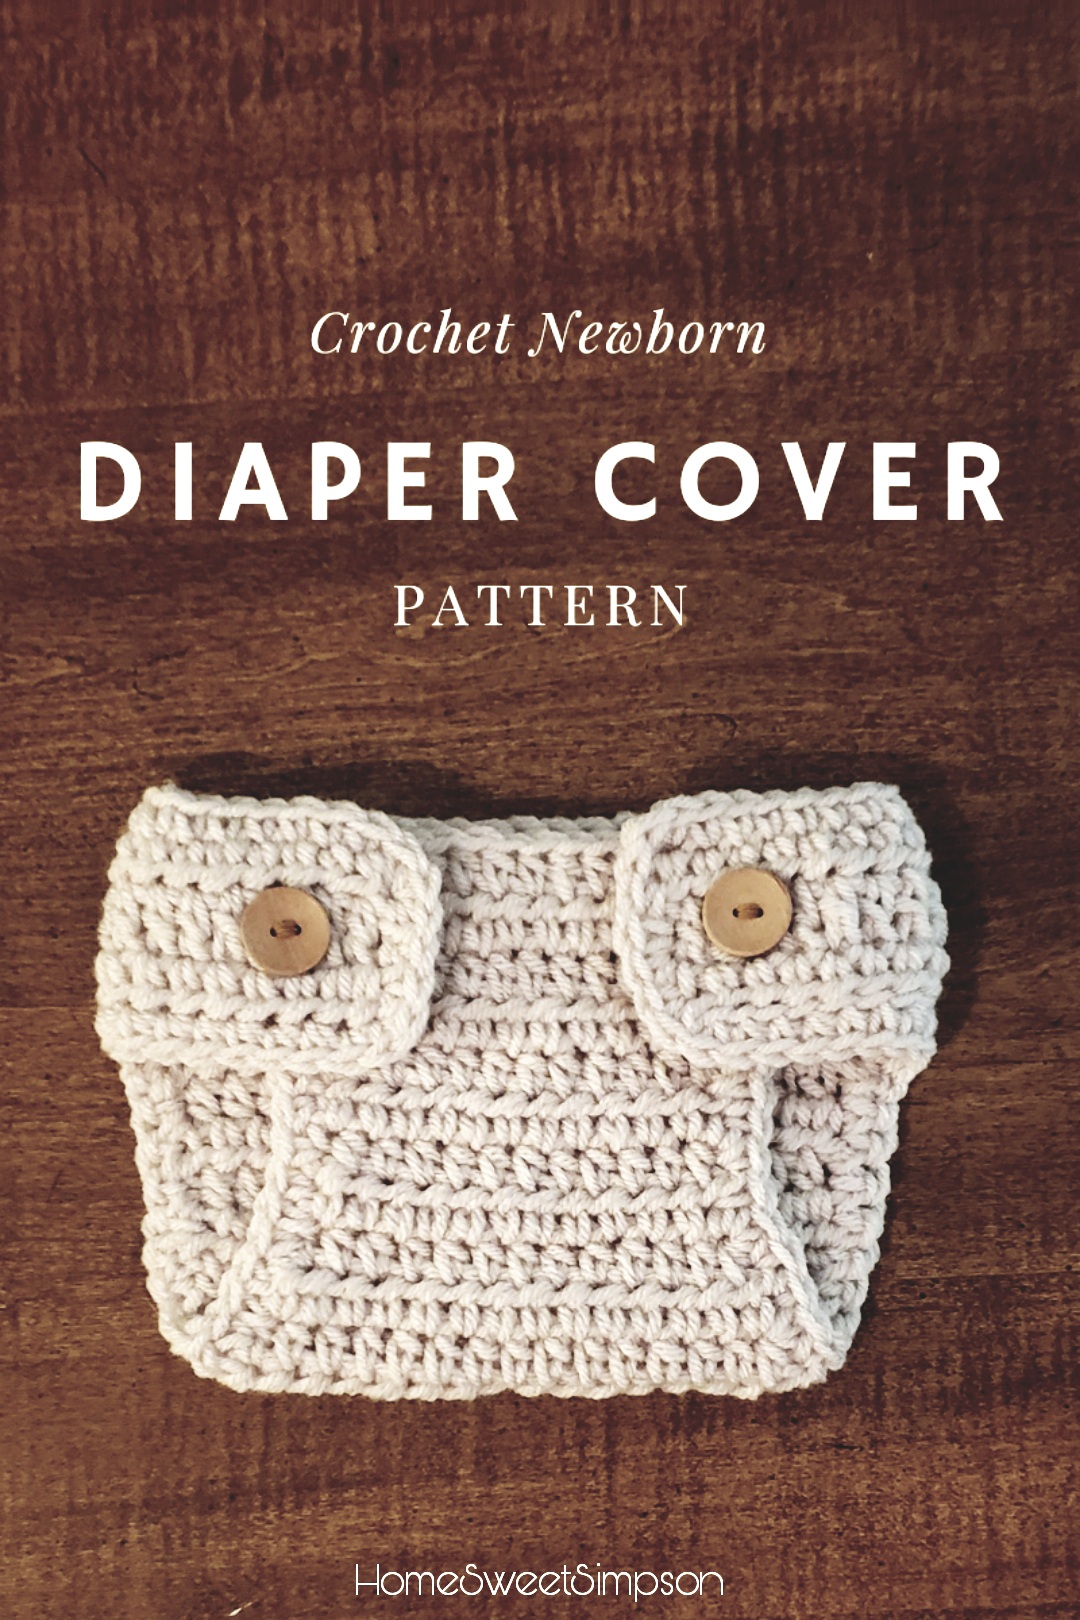
These newborn diaper covers are perfect for photoshoots! They’re adjustable and customizable. They can have one button in the middle, or two buttons. Placing one button, or two in the middle are perfect for smaller babies or preemie size. Placing two buttons on the outermost edges is best for a newborn size or 1 month old and still has adjustability to fit smaller babies.

This project is fairly quick to make and is beginner friendly. I tried to make this pattern as simple as possible, without difficult increases or decreases and only using basic stitches. I’m confident that anyone can make this diaper cover!

Want to download and print the ad-free pattern? You can get it here.

Materials Needed:

  • -#4 Worsted Weight Yarn
  • -5mm Crochet Hook
  • -Yarn Needle
  • -Sewing Needle
  • -Embroidery Thread or Regular Sewing Thread (for
    sewing on buttons)
  • -1-2 Buttons
  • -Scissors
  • Abbreviations/ Stitches Used:
  •  
  • -Stitch (st)
  • -Chain (ch)
  • -Slip Stitch (sl st)
  • -Half Double Crochet (hdc)
  • -Double Crochet (dc)
  • -Single Crochet (sc)
    *Note- In this pattern, turning chains (ch 1 or ch 2)
    do not count as a stitch.

Let’s Get Started!


Ch 40
Row 1: Hdc in second st and continue until the end of row
(39 st total)
Row 2: Ch 2, dc in first st. Continue until the end of row.
Row 3: Ch 1, hdc in the first st. Continue until the end of
row.
Row 4: Sl st 10. Starting in st #11, hdc in each st until you
reach a total of 19 hdc. *Do not work in the remaining 10 st
of row.
Row 5: Ch 1, make 19 hdc starting in first st.
Row 6&7: Repeat row #5
Row 8: Ch 1, make 18 hdc starting in first st. *Do not do
last st.
Row 9: Ch 1, make 17 hdc starting in first st. *Do not do
last st.
Row 10: Ch 1, make 16 hdc starting in first st. *Do not do
last st.
Row 11: Ch 1, make 15 hdc starting in first st. *Do not do
last st.Row 12: Ch 1, make 14 hdc starting in first st. *Do not do
last st.
Row 13: Ch 1, make 13 hdc starting in first st. *Do not do
last st.
Row 14: Ch 1, make 12 hdc starting in first st. *Do not do last st.

Row 15-17: Ch 1, make 12 hdc starting in first st.
Row 18: Make 2 hdc in first st of row. Make 1 hdc in the
next 10 st. Make 2 hdc in the last st of row.
Row 19: Make 2 hdc in first st of row. Make 1 hdc in the
next 12 st. Make 2 hdc in the last st of row.
Row 20: Make 2 hdc in first st of row. Make 1 hdc in the
next 14 st. Make 2 hdc in the last st of row.
Row 21: Make 2 hdc in first st of row. Make 1 hdc in the
next 16 st. Make 2 hdc in the last st of row.

  • To finish and clean up sides: sc all the way around edge of
    diaper cover.
  • Fasten off and weave in ends of yarn.
  • Sew on buttons on front of diaper cover.
Sew buttons on front of diaper cover
  • Safety Note: be sure to sew on buttons as securely as possible to
    prevent any coming off. Newborns typically aren’t tuggers on
    clothing yet, but it’s best to err on the side of caution when
    creating all baby items to prevent any choking or other type of
    hazard

*All tools that I used in this project (and most of my projects) are from this set which contains everything you would need for any crochet project. From hooks, scissors, needles/pins, stitch markers, measuring tape, and more! It’s so compact and my go-to case to take anywhere.

I hope you enjoyed this pattern, follow Home Sweet Simpson on Instagram for more project inspirations. Until next time, stay safe and happy crocheting!

Posted on Leave a comment

Beginner’s Guide to Crochet

Hello, lovely people!

It’s another gorgeous, rainy, day and I have finally gotten around to finishing a few crochet projects that I’ve been working on.

I have been crocheting since I was a wee-little 8 year old. My aunt taught me and gave me my first book on learning to crochet. Since then, I haven’t stopped. In fact, I’ve even convinced all (three) of my friends to crochet. Today, I will teach you in three simple steps.

I’m going to assume that you have just bought your first ball of yarn and hook. I’m going to explain the steps as if you have never even heard of crochet before. I will teach you how to get your yarn on the hook, a.k.a. a slip knot, how to do a foundation chain (the first stitches to start a project), and how to slip stitch.

In my next post, I will teach you the most basic stitches. Those stitches will carry you through so many projects and are virtually limitless.

Let’s not get ahead of ourselves though. Let’s get down to the basics.

1. The Slip Knot

The slip knot is basically just how you get the yarn onto your hook. There’s various ways that people do a slip knot. When I first began, I would always just tie a knot around my hook and go from there. Now while that can work, you run the risk of a knot that’s too tight.

To do a slip knot, you will wrap the yarn around two fingers making a circle and pull the back of the yarn through the circle with your hook.

2. Chain

A chain, or foundation chain, will be the first step to almost all projects you will make. To do a chain, you will wrap the yarn around your hook and pull it through your slip knot. You will repeat until you reach your desired length.

3. Slip-Stitch

The slip-stitch is a type of stitch that is mainly used for connecting stitches together or going across stitches. You can use it for projects but it doesn’t build height quickly. It is still a stitch that you will use very often in projects and it will get you used to working back and fourth on your chain.

To do a slip-stitch: Complete your chain and turn so that you will be working in the opposite direction. Insert your hook into the first stitch of the chain, wrap your yarn around your hook and pull it through both loops. Think of it just like a chain except first inserting your hook into another stitch.

And BAM, just like that, you have learned the basics of crochet.

Rest assured that at first, your work may look funky. It does take practice to see your stitches look more even. A common mistake that I see beginners do is pulling your chain too tight, This creates a tension that is too tight. It will come to you as you continue to practice.

Please let me know if this was helpful to you. Please tag Home Sweet Simpson in your work on Instagram. I would love to see!

Take care, stay safe! Love you all.