Posted on Leave a comment

Beachy Crop Top Crochet Pattern

Warmer weather is so close.. and that means so are the cute little bralettes and crop tops that I adore. Here is one that I created last summer:

Bralette size medium :

Ch 16

  1. Starting in the 2nd ch from hook, sc 14 st. Make 3 sc in the 15th ch. Make 14 sc around the back side of the ch.
  1. Turn your work, make 1 sc in first 15 st. Make 3 sc in 16th st. Make 1 sc in the last 15 st.
  1. Turn your work, make 1 sc in first 16 st. Make 3 sc in the 17th st. Make 1 sc in the last 16 st.
  1. Turn your work, make 1 sc in first 17 st. Make 3 sc in the 18th st. Make 1 sc in the last 17 st.
  1. Turn your work, make 1 sc in first 18 st. Make 3 sc in the 19th st. Make 1 sc in the last 18 st.
  1. Turn your work, make 1 sc in first 19 st. Make 3 sc in the 20th st. Make 1 sc in the last 19 st.
  1. Turn your work, make 1 sc in first 20 st. Make 3 sc in the 21st st. Make 1 sc in the last 20 st.
  1. Turn your work, make 1 sc in first 21 st. Make 3 sc in the 22nd st. Make 1 sc in the last 21 st.
  1. Turn your work, make 1 sc in first 22 st. Make 3 sc in the 23rd st. Make 1 sc in the last 22 st.
  1. Turn your work, make 1 sc in first 23 st. Ch 3. Skip st #24. Make 1 sc in last 23 st.

Fasten off, weave in ends. Repeat for next cup.

Lay bra cups side by side where sides are touching. Using a yarn needle, sew cups together up to the 10th st. (Or where bra cups start to separate.)

Attach a ch of 40 to each side of the bra cup in the space at the top.

Body band:

For your custom size– make a foundation chain about 10 inches shorter than your regular bra’s band size.

Make 4 extra ch.

Starting in the 5th ch from hook, make 1 tr in each st all the way across.

Ch 4, turn your work. Starting in 2nd st, make 1 tr all the way across.

For edging- turn your work, ch 4. In the second ch from hook, make 3 hdc together (yo, insert hook, pull up a loop, yo, insert hook, pull up a loop, yo, insert hook, pull up a loop, yo, pull through all 7 loops.) Sl st into same ch.

Ch 3, skip a st and sl st into the next st of band.

Repeat all the way across.

Add a ch of 40 to each side of band.

Fasten off/weave in ends.

Posted on Leave a comment

Easter Egg Rattle Crochet Pattern

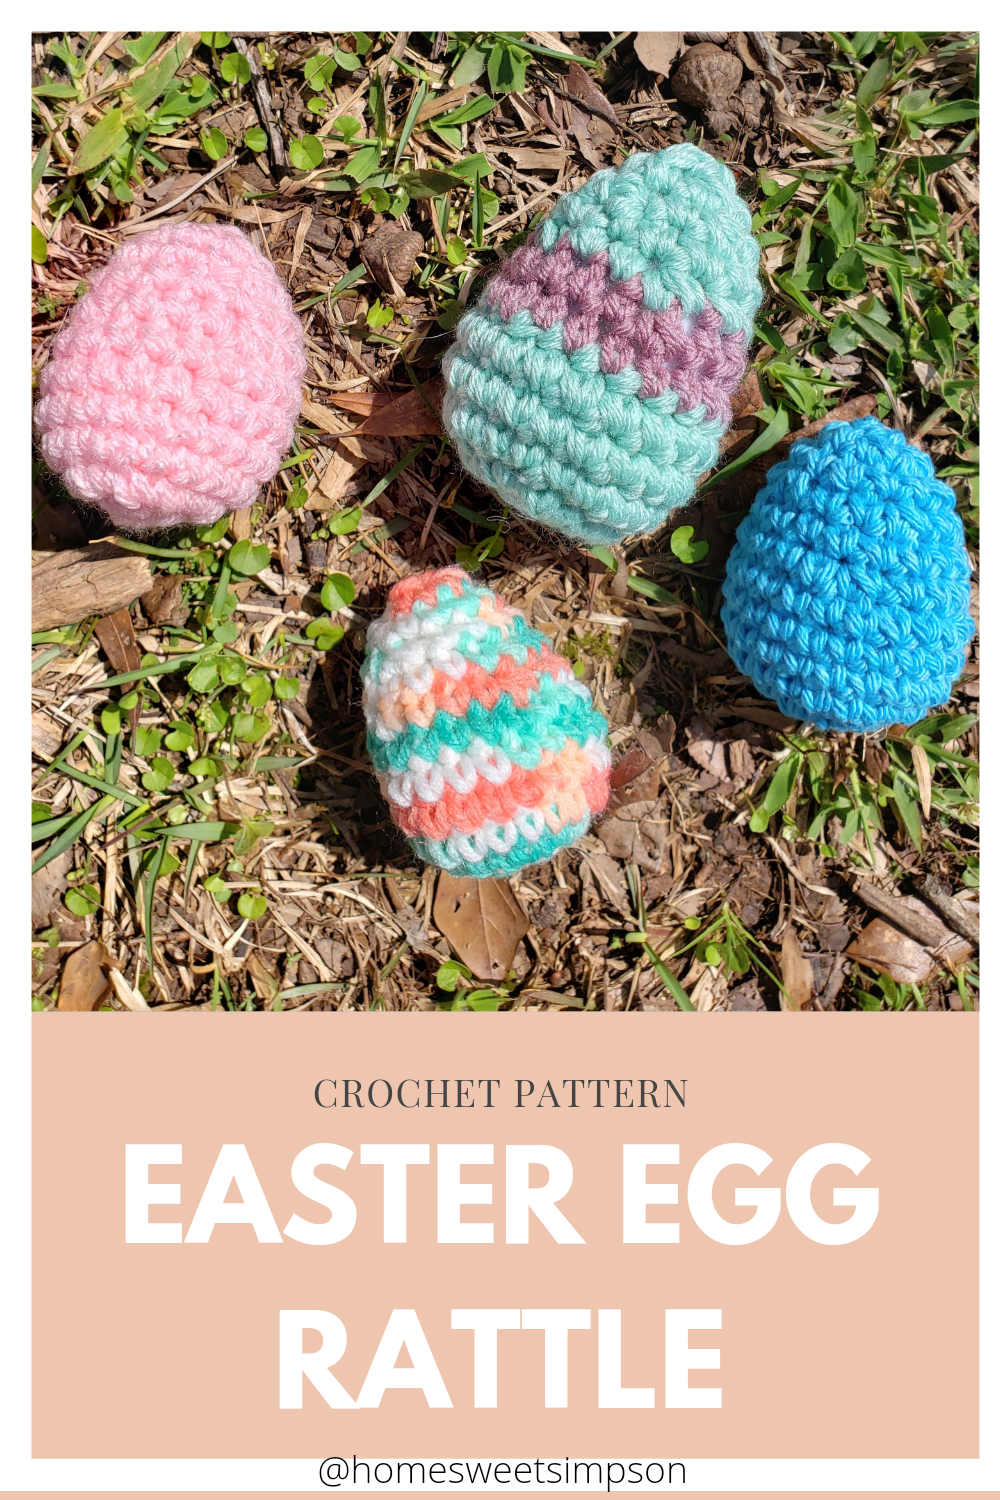
This pattern goes right along with the Easter Egg Bag Pattern from a few days ago. I love all of the spring and Easter-themed items and these eggs are my FAVORITE. I started making them last year when we had 3 new babies in the family who could not partake in the delicious Easter candy but were perfectly suited for a cute little rattle. I have probably made 50 eggs since them. Most with rattle inserts but a few without (just stuffing) so feel free to omit the rattle and just make a cute Easter egg stuffy or decoration. Mix up colors and use that multicolored yarn that you just can’t figure out what to do with.. these eggs LOVE colors.

The pattern is so simple and quick to whip up. If you’d like to purchase an ad-free, printable pattern, you can click here.

Materials Needed:

• Worsted weight #4 yarn

• 4 mm crochet hook

• Yarn Needle

• Scissors

• Rattle Insert

• Stuffing/ Poly-fil

Abbreviations Used:

• Chain (ch)

• Stitch (st)

• Single Crochet (sc)

• Slip Stitch (sl st)

-Make a magic ring, ch. 1 (or ch 4 and slip st into the first ch)
1.) Sc 10 inside ring, pull to close. Sl st into first sc to join round. Ch 1. <10 st>
2.) Sc 2 in each st of round. Sl st into first sc to join round. Ch 1. <20 st>
3-6.) Sc 1 in each st of round. Sl st into first sc to join round. Ch 1. <20 st>
7.) Sc 1 into the first 3 st, sc 2 tog. Repeat until the end of round. Sl st into first sc to join round. Ch 1. <16 st>
8.) Sc 1 into each st until the end of round. Sl st into first sc to join round. Ch 1. <16 st>
9.)Sc 1 into the first 2 st, sc 2 tog. Repeat until the end of round. Sl st into first sc to join round. Ch 1. <12 st>
10.) Sc 1 into each st until the end of round. Sl st into first sc to join round. Ch 1. <12 st> Stuff egg/ insert rattle if desired.
11.) Sc 2 tog all the way around. Sl st into first sc to join round. Ch. 1. <6 st>
Using a yarn needle & yarn, weave in and out of remaining st to close top of egg. Fasten off, weave in ends.

And that’s it! Please tag me in your photos on Instagram or hashtag #homesweetsimpson!

Posted on Leave a comment

Easter Egg Bag Crochet Pattern | Beginner Friendly

Hello, Spring!

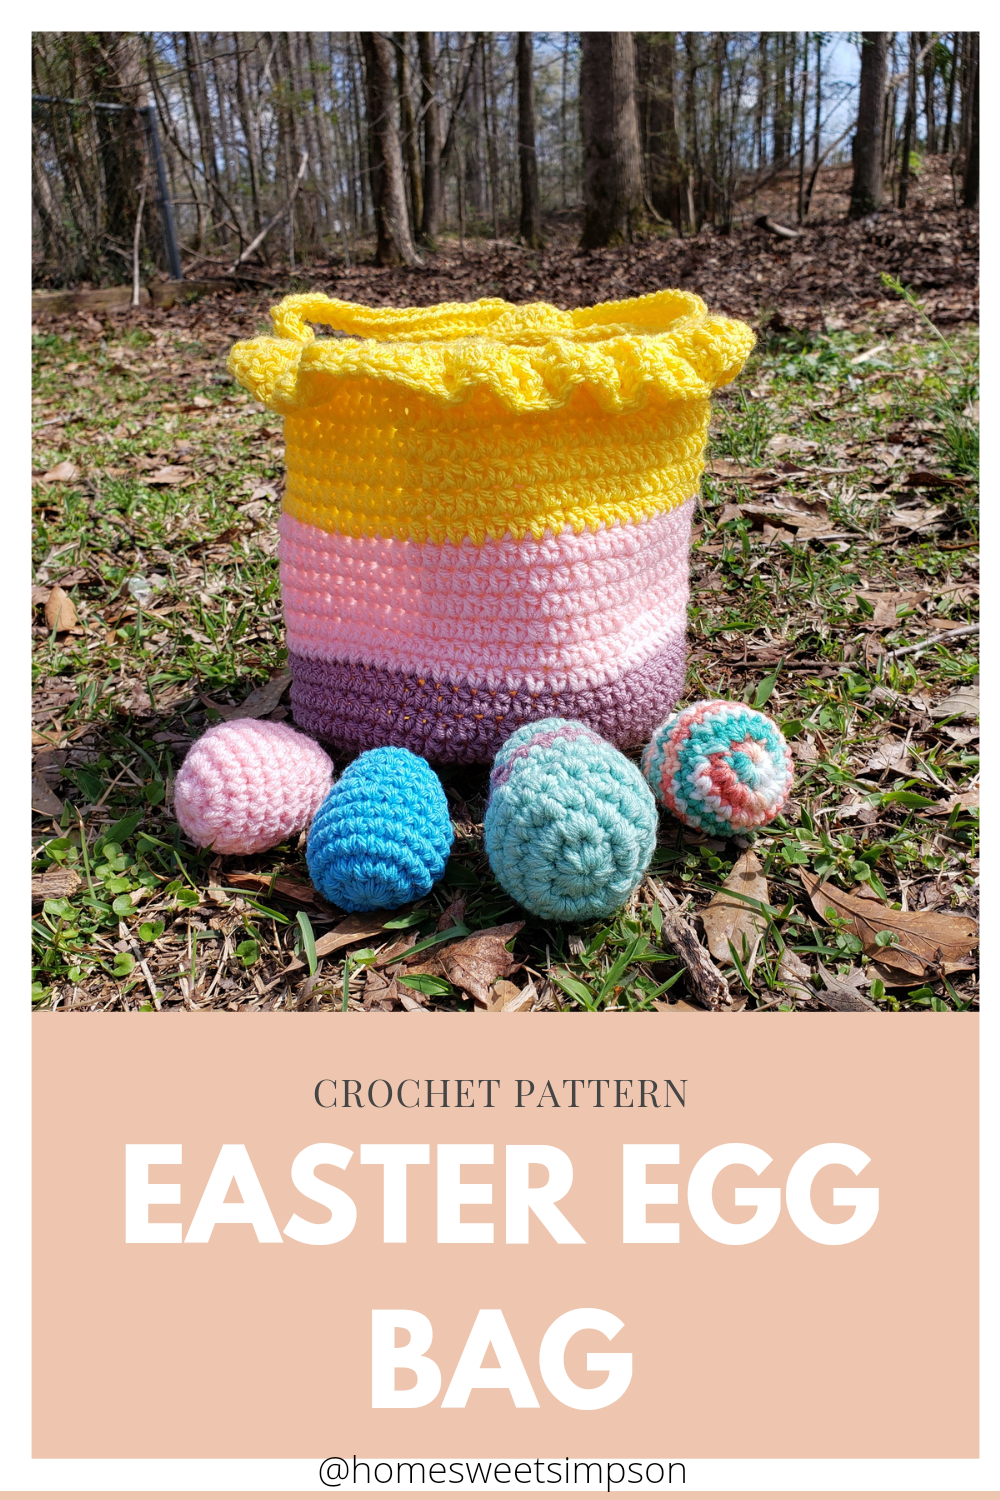
Easter is just around the corner and I have been having a ton of fun creating Spring and Easter- themed patterns all week. This Easter Egg Bag is so cute and customizable. I chose the colors yellow, purple, and pink for this bag, but feel free to mix it up with any colors that you like. My bag is slouchy and soft, but if you would like your bag to be more stiff and more like a basket, you can double your yarn or use thicker yarn.

If you would like, you can download the ad-free, printable pattern here.


Materials needed:

-WORSTED WEIGHT #4 YARN IN 3 COLORS (LESS THAN ONE SKEIN IN
EACH COLOR). COLORS USED IN THIS PROJECT: YELLOW, PURPLE, AND
PINK.
– 4.5MM CROCHET HOOK
– SCISSORS
– YARN NEEDLE

Abbreviations/Stitches Used:

– Stitch (st)
– Half Double Crochet (hdc)
– Treble Crochet (tr)
– Slip Stitch (sl st)
– Chain (ch)

*CH 1, does not count as a st in this pattern. Unless stated otherwise, crochet into the very first st of the row.


BODY OF BAG

YELLOW:

Make a magic ring, ch 1. (or ch 4, sl st to join ring, ch 1)

  1. Make 10 hdc inside ring, sl st in first hdc to join round. Ch 1.
  2. Make 2 hdc in each st around. Sl st in first hdc to join round, ch 1. <20 st>
  3. Make 1 hdc in the first st., 2 hdc in the next. Repeat for rest of the round. Sl st in first hdc to join round, ch 1. <30 st>
  4. Make 1 hdc in first 2 st., 2 hdc in the next. Repeat for rest of round. Sl st in first hdc to join round, ch 1. <40 st>
  5. Make 1 hdc in first 3 st., 2 hdc in next. Repeat for rest of round. Sl st in first hdc to join round, ch 1. <50 st>
  6. Make 1 hdc in first 4 st., 2 hdc in next. Repeat for rest of round. Sl st in first hdc to join round, ch 1. <60 st>
  7. Make 1 hdc in first 5 st., 2 hdc in next. Repeat for rest of round. Sl st in first hdc to join round, ch 1. <70 st>


Change Color to Purple


8-13. Make 1 hdc in each st. all the way around. Sl st in first hdc to join round, ch 1. <70 st>


Change Color to Pink

14-19. Make 1 hdc in each st. all the way around. Sl st in first hdc to join round, ch 1. <70 st>


Change Color to Yellow

20-25. Make 1 hdc in each st. all the way around. Sl st in first hdc to join round, ch 1. <70 st>

  1. Make 1 sl st in each st. all the way around. Sl st in first sl to join round, ch 3. <70 st>
  2. Make 2 tr in each st. all the way around. Sl st in first tr to join round. <140 st>


Fasten off, weave in ends.


For strap: Ch. 45.

Starting in 3rd st from hook, make 1 hdc in each st. across. <42 st>

Fasten off. Using a yarn needle and yellow yarn. Attach each side of strap to bag.

Weave in ends.


And that’s it, guys! I hope you enjoyed this pattern. Please tag me in your photos on instagram or hashtag #homesweetsimpson.

Posted on 2 Comments

Foundation Scarf Crochet Pattern | Beginner Friendly

Crochet Scarf Pattern

This scarf is a winter-fashion staple. It works up quickly, this one took less than 2 hours for me. It can be made in any color, or made to be wider/longer as there is no set rule for # of chains or rows. Only 2 stitches are used in the entire project and the rows repeat exactly the same. I’m sure you will love this piece so let’s dive right in to it.

You can continue with the pattern below, or you can download the ad-free, printable pattern here.

If you do not know the stitches used in this pattern, check out the how-to blog post here.


Foundation Scarf Crochet Pattern- Beginner Friendly Abbreviations/Stitches Used:

Stitch (st)

Chain (ch)

Half Double Crochet (hdc)

Treble Crochet (tr)

Materials Needed:

Worsted Weight #4 Yarn

4.5 mm Crochet Hook

Yarn Needle

Scissors

*Note- scarf can be made as a regular scarf or as an infinity scarf. An infinity scarf can be made in 2 ways: 1. Join to first chain after last foundation chain. 2. Sew ends together after scarf is finished. I’m choosing to sew my ends together after my scarf is finished to complete my infinity scarf. If you choose to join ends of foundation chain, you just need to slip stich to join after each row.

Let’s Begin!

1.Ch 203 *(see notes)

2.Starting in in fourth ch from hook, make 1 tr in each st across <200 st>

3.Ch 1, starting in first st, make 1 hdc in each st across. <200 st>

4.Ch 3, starting in first st, make 1 tr in each st across. <200 st>

5. Repeat #3-4 2 more times.

6. Fasten off, if you need to join ends to make infinity scarf: lay ends right side facing each other, and whip stitch together. Weave in ends.


That’s it! Please let me know if you loved this pattern by tagging me in your photos on instagram or using #homesweetsimpson.

Posted on 2 Comments

Wild West Ear Warmer Headband Crochet Pattern

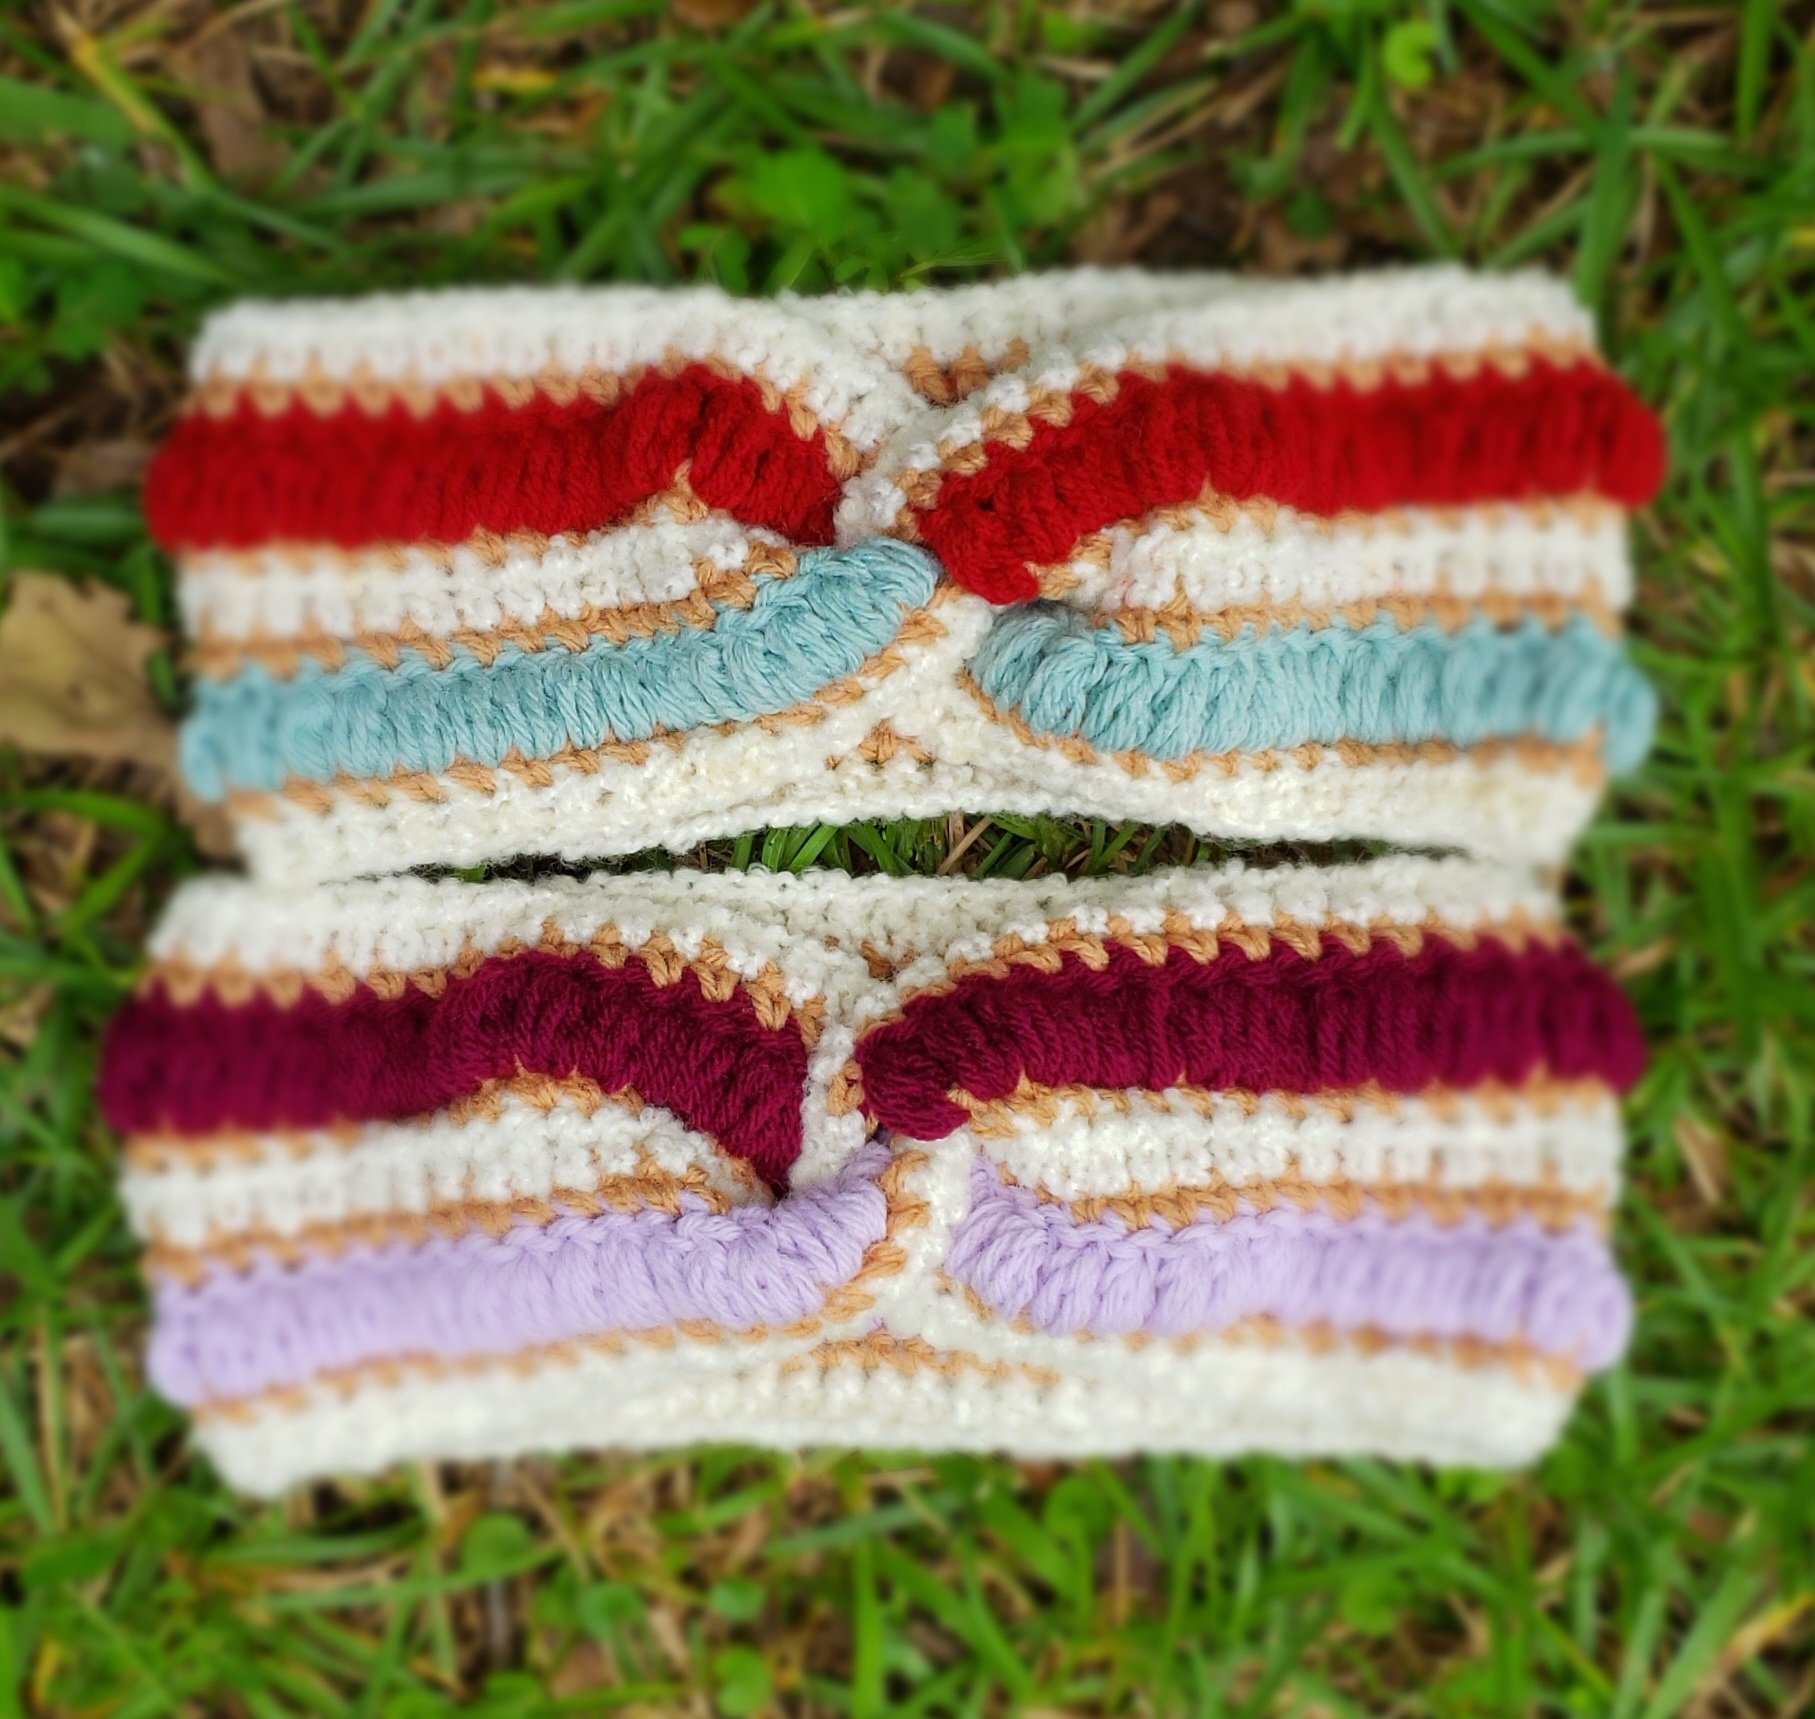
In dreaming of cooler weather, I decided to make a few winter accessories today. I didn’t think I would love this ear warmer headband THIS much but I am obsessed! I’m excited to share this pattern with all of you because it’s a quick and simple project that I know you will love.

The stitches uses in this project are simple to do, even though I had to remix the traditional bean stitch and kind of combine it with a puff stitch to get the look I was going for. No worries though, it’s very simple and I explain in the pattern below just how to do it.


Click here if you would like to purchase the ad-free, printable, PDF pattern.

Or click here if you would like to purchase a finished product.

Otherwise, let’s dive right into the pattern!


Wild West Ear Warmer Headband


Abbreviations/Stitches Used-

Chain (ch)

Stitch (st)

Modified Bean Stitch (mbs)

Single Crochet (sc)

Half Double Crochet (hdc)


*Modified Bean Stitch: (Yarn over, insert hook, pull up a loop- 3 times <7 loops on hook>, Yarn over, pull through first 6 loops on hook <2 loops on hook>, Yarn over, pull through last 2 loops.)


Materials Needed:

  • Worsted Weight #4 yarn in 4 colors- small amount of each color. (You may use any colors but mine were: cream, light brown, red, and baby blue for the first one and cream, light brown, burgundy, and lavender for the second.)
  • Scissors
  • Yarn Needle
  • 5 mm crochet hook


Pattern:


*Color Cream


  1. Ch 68
  2. Starting in third ch from hook, make hdc in each st across <66>


*Switch Color to Light Brown


  1. Ch 1. Starting in first st from hook, sc in each st across <66>


Switch color to Baby Blue


  1. Ch 3. Starting in first st from hook, make a mbs in each st across <66>


Switch color to Light Brown


  1. Repeat row #3


Switch color to Cream


  1. Ch 2, Repeat row #2


Switch Color to Light Brown


  1. Repeat row #3


Switch Color to Red


  1. Repeat row #4


Switch color to Light Brown


  1. Repeat row #3

Switch color to Cream


  1. Ch 2, Repeat row #2.


Fasten off, weave in ends.

Lay both end pieces beside each other overlapping in the middle. Fold one side over the back and the other side over the front making a “c” with both sides. Pictured below.


Using a piece of yarn and your yarn needle, stitch them together.

Tie off and weave in any ends and turn your work so that your seam is to the inside.


And you’re done!


Please tag @homesweetsimpson on instagram or use the #homesweetsimpson hashtag so that I can see your finished products!

Until next time, stay safe and stay happy. Xo, Hannah!

Posted on 1 Comment

Hair Scarf Crochet Pattern | Beginner Friendly

I’m not really a hair person. I like to look put together but most of the time, I cannot be bothered to do anything with my hair besides brush it. Now that it’s getting hot, between sweat and the humidity, any type of heat styling is useless by time I get to my destination.

I quit wearing makeup, mainly because my skin gets angry and lashes out in the form of cystic pimples and blackheads. I can think about foundation and get a pimple. (Yes, I’ve tried numerous BB creams and acne treatment ones as well. Yes, my skin care routine is consistent but I digress.) Not only has my lack of makeup made me feel more free, and helped my acne, it’s also saved me a lot of time. Still, not time I wish to spend on my hair. I needed something quick and stylish for my hair. That’s where the idea for this hair scarf came in. It’s perfect for adding a little flare to my untamed locks. I’ve made multiple colors to tie in the colors of whatever outfit I’m wearing. It’s almost as if I’m putting a lot of effort into my hair style. Don’t tell anyone otherwise.

This crochet project is so easy and quick to make. You can make multiple ones in a single day and quickly have all the colors you need. I wear mine tied in the front like a knotted headband. Perfect for when I have my hair in a messy bun! I also like the same style when my hair is down. Tying them around a bun with the ends hanging down in the back is really cute too! These hair scarves are stretchy so I make them so they’re pulled tight when tied to stay in place.

Materials Needed:

  • Worsted Weight #4 Yarn
  • 5 mm Crochet Hook
  • Scissors
  • Yarn Needle

Abbreviations/ Stitches Used:

  • Stitch (st)
  • Chain (ch)
  • Half Double Crochet (hdc)
  • Double Crochet (dc)
  • Double Crochet Decrease (dc dec)

*Notes- Ch. 1 is a turning chain that does not count as a stitch. In every row, begin your work in first stitch unless stated otherwise. Most people use ch. 2 for double crochet but I choose to use just 1 because I prefer the look in this project.

I do not single crochet around this project for clean edges, I like the look of textured edges in this hair scarf. You could single crochet around your hair scarf if you choose but keep in mind that it will make your project a bit wider.

Let’s Get Started!

Ch 2

Row 1: Make 1 hdc, 1 dc, and another hdc in second ch from hook.

Row 2: 1 dc in first two st. 2 dc in last st.

Row 3: 1 dc in first 3 st. 2 dc in last st.

Row 4: Make 1 dc in each st along row. (5 st)

Row 5-41: Repeat row #4

Row 42: 1 dc in first 2 st. 1 dc dec in second st. 1 dc in last st.

Row 43: 1 dc in first st. 1 dc dec in second st. 1 dc in last st.

Row 44: 1 dc in first st. 1 dc dec in second.

Fasten off, weave in any ends.


I hope you enjoyed this sweet and simple pattern. I’d love to see your finished projects. Please tag @homesweetsimpson in your Instagram photos and follow for more patterns and updates. Until next time, stay safe and happy crocheting!